Plastering and screeding
Or Call: (020) xxxx–xxxx
Plastering and screeding are two ways to create a smooth, flat surface on the wall. They are often used in construction projects for residential homes or commercial buildings before painting or tiling. But what is plastering? What is a screed? What’s the difference between the two? And how do you know when it’s time to use them?
This blog post will answer all of your questions to have an idea about these essential construction techniques!
What are plastering and screeding?
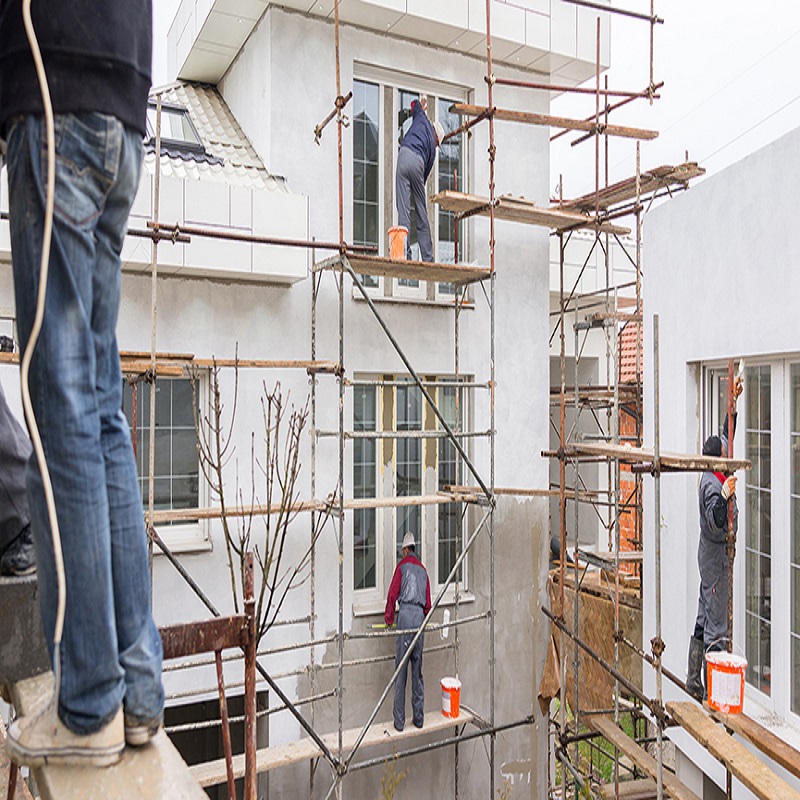
Plastering is a process where a protective layer, or any other type of special mortar, is used to coat a wall. This can be done on new construction walls before tiling or painting takes place so that the surface will stay smooth and flat once it’s finished. Screeding involves using a tool called screed board—this “board” is more like wood with grooves in it—to spread out concrete across an already-plastered area.
The difference between the two
There are several differences between plastering and screeding, including what they are used for, the time it takes to complete each job, and how much needed experience. Plastering involves coating walls, while screeding requires spreading concrete over a surface that has already been plastered.
Screed boards are also different—plastering uses smooth panels with grooves so that excess water can drain off freshly spread out plaster or mortar. Screeding needs flat-surfaced boards to move around dry material like sand evenly across an area’s surface.
Benefits of plastering and screeding
Plastering helps protect your home by giving you a sound foundation to work on later when adding paint or tile. This method will provide you with a clean, even surface that is easy to work with.
Screeding benefits include a smooth, solid flooring foundation that can help reduce water damage in basements and other areas prone to moisture. When done correctly, screed floors are less likely to experience cracking over time as well.
Many homeowners benefit from plastering and screeding because it provides an excellent way to improve appearance, support weight (for example, floor tiles), and reduce noise transfer between rooms or apartments which share walls with other living spaces.
Plastering is usually used as a finishing layer over brickwork, clockwork, or stone. In contrast, screed is generally poured onto well-prepared subfloors such as concrete slabs that have been cast vertically against the flat ground.
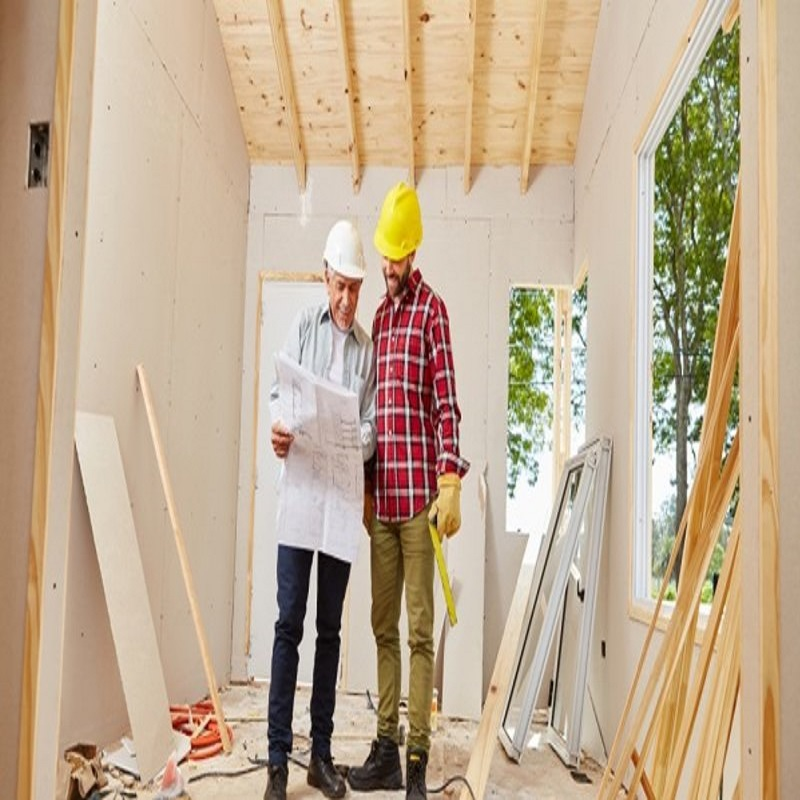
Different types of plasters that are available on the market today
We have various kinds of plasters available today, and they all serve other purposes.
• Special Plasters
Special plasters are used in areas where a high moisture level is expected, such as around baths and showers. These plasters are often waterproof, so they can help prevent leaks if your plumbing fails or you have a leak in your roof after a storm has passed through.
• Stucco Plaster
Stucco plastering uses cement to provide strength and durability while also giving homes an attractive exterior appearance. This type of plaster is typically used on external walls. Still, there are some interior applications for it if you’re looking to add strength and stability to something like under-used stud work or garden structures.
•Waterproof plaster
This kind of plaster protects against water damage caused by flooding, burst pipes, or seepage. It’s typically used in bathrooms, kitchens, and areas of your home that are more prone to water damage.
• Lime Plaster
This kind of plaster is made from a mixture of limestone dust, lime putty, sand, gypsum powder, binder ( usually casein ), pigment colourant, white cement paste for decorative effect, and additives including retarders/accelerators to control the setting time. Lime plasters are breathable materials which means they’re ideal for any space you want to keep warm! They also have natural antibacterial properties, so if there’s mould present on one section of your wall, it will prevent spores from being spread across the rest of the room.
Lime plaster is an excellent base for any paint colour and can also be watered down to create a washable finish.
• Composite Plaster
This type of plaster is made from a mixture that contains gypsum powder, mineral additives such as calcium carbonate or silicates, binder (usually casein), pigment, white cement paste. It’s often used in conjunction with lime plasters because it has high compressive strength when set, which means you don’t need much support beneath the surface. Also known as ‘concrete’, this kind of plaster will take on whatever shape your room takes, so it bends around corners without breaking! You’ll get the best results if you use an additive called Retarder/Accelerator – available at most hardware stores.
When is plastering and screeding needed?
Plastering may not always be necessary for building projects, depending on the materials being used on your home. For example, if you’re only tiling over drywall instead of brick or masonry material, there won’t be much need for plaster.
On the other hand, screeding may be necessary if you’re installing a vast wall area such as in an entryway or foyer where multiple tiles are going to meet together at one point.
Why you should hire a professional for this job
People often think they can save money by doing the job themselves, but in reality, it’s not worth taking on this kind of task. The professional will know how to get the correct measurements and ensure that your tiles are installed evenly throughout.
Another reason why hiring a professional is necessary is that if you’re not familiar with the materials needed, you may purchase the wrong ones. This means that your floor may look great for a few days or even weeks and then quickly start to show signs of wear.
How we prepare for plaster or screed
Before the installation process can begin, it’s essential to make sure all necessary preparations have been made first. First things first, we take down any pictures from the walls and any other items on display since this will give us an unobstructed view of what needs to be done at hand.
The next step is removing anything that could potentially fall, such as lamps and vases, so they don’t get damaged during our work time. After that, we prepare the walls by removing any switches and sockets to plaster or screed around them.
Then we start applying the first coat of plaster or screed. In this stage, we take care not to damage the wall’s surface, so we use a dry brush to remove any dust or loose materials.
The final step is applying our finishing coat, in which we have to be extra careful about the smoothness and even distribution of material on both sides. We also take care not to leave any bubbles, ridges or lumps along the way.
How to find the right contractor for your needs
Finding the right contractor can be tricky. There are so many different ones, each with specialities and a focus on specific projects or services.
Firstly, you want to ensure the contractor has experience in plastering and screeding jobs similar to yours. Ask them about past projects they have done that are similar to what you need doing at your home – this can give you an indication of whether they will be able to turn up on site prepared for the task ahead!
Make sure all estimates come with a comprehensive list of work required; also, check if any materials needed for the job include VAT (value-added tax).
The final thing is to check the contractor has a good track record of success – you can do this by checking out their online reviews and testimonials.
Types of walls
Several different types of walls can be plastered and screeded depending on the structure.
• Buttressing wall
The buttressing wall has an open cavity, which means there are no internal walls to block the plasterer’s work. It has a continuous brick arch that forms an inner wall on the opposite side of the cavity.
• Cavity wall
The cavity wall has a space between two external walls with an inner and outer leaf of bricks. The width of this gap is filled with insulation material and cement or synthetic mortar mix in some cases. This helps keep your home warm during winter months by preventing heat loss through conduction – it does not stop cold air from entering from outside but prevents warmth from escaping into areas where it isn’t needed (e.g., exterior walls).
• Compartment wall
The compartment wall is a solid wall that has no cavity. It’s divided into smaller compartments by fire-resistant hollow walls, filled with insulation material and cement or synthetic mortar mix in some cases.
• Curtain Wall
A curtain wall does not have external bricks, but instead, the load-bearing elements – such as studs and joists – can be seen from outside of your home because they’re covered with metal, glass or masonry panels.
• Dwarf Wall
This structure doesn’t require deep foundations due to its height, so it works on sloping sites where traditional construction would otherwise prove difficult and expensive. When you choose this option for your new build project, you must ensure that all the other aspects of the project are viable to be executed on a slope.
• Green wall
This wall has been built to blend into the natural environment and features materials such as wood, bamboo or straw. We can use a green wall in conjunction with your roofing design, and it’s an aesthetically pleasing way of adding some greenery to your home without having to compromise on interior space.
• Internal load-bearing wall
An internal load-bearing wall supports the two-floor levels above, which will also provide new level access under certain circumstances – this could potentially add value if you ever choose to sell your property at a later date!
• Parapet wall
A parapet (also commonly called “the cap”) is where exposed brickwork ends and roofing begins. Most frequently used in Victorian homes, it can be constructed to allow for future extensions – this means you’ll have plenty of room to grow without the need for expensive planning permission!
• Partition wall
A partition wall is a secondary structure that divides your house into separate living spaces and provides support and insulation. They come in all shapes and sizes, so there’s bound to be one perfect match for your property!
• Party wall
If you plan on extending your property or building an extension for a neighbour, you will need to be aware of the party wall. A party wall usually runs along boundaries between two properties and must not be ‘substantially built on’ without first obtaining formal consent from all affected owners – this can include things like digging foundations!
• Pile wall
Pile walls are a type of foundation and can support structures such as garages or sheds. They enable you to keep your garden neat without having unsightly piles of bricks lying around!
• Rainscreen
A rain screen is an external wall cladding with a gap between it and the internal insulation layer that allows moisture from rainwater penetration on one side but not the other. This helps damp issues caused by cold bridging up through steel roofing systems that have been incorrectly installed against masonry surfaces – e.g., cavity brickwork into purlins then onto timber rafters behind plasterboard ceilings in existing homes. It also creates an air space next to the outer skin, which prevents condensation.
Tips on how to make your home look great after plastering and screeding
After a wall has been plastered, you can install new tiles or paint them, depending on what looks best for the room. If there is an existing fireplace in place, simply painting may be enough instead of replacing everything, which could cost much more!
If you need help with anything else please feel free to call us on
020 xxxx xxxx
